
You probably noticed that Service Fabric Explorer is publicly accessible and does not require any username or password. Service Fabric Explorer allows monitoring and management actions like disabling nodes or application deletion. The cluster and its management can be easily secured with an X.509 self-signed certificate. After that, the certificate is required to access Service Fabric Explorer or publish applications to the cluster.
Step 1: Choose a cluster name
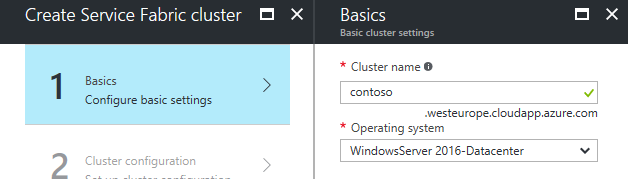
We need to know the name of the cluster before we can start with certificate generation. The name must be unique in the Azure region.
In the Azure portal, click on New → Compute → Service Fabric Cluster. Choosing the cluster name is the first step of the Service Fabric cluster creation wizard. In this article, I will choose the traditional name contoso.
Step 2: Generate a certificate
The certificate can be generated in many ways. This topic far exceeds the intent of this article. You can generate the certificate by a process you trust. The only requirement is the X.509 standard, and the subject name (CN) must be the URL of your cluster, e.g., contoso.westeurope.cloudapp.azure.com.
I will use Windows CryptoAPI, Microsoft .NET Framework, and the PluralSight.Crypto NuGet package. Launch Visual Studio and create a new console app (Start Page → Create a new project… → Installed → Templates → Visual C# → Windows Classic Desktop → Console App (.NET Framework) → OK). In the Solution Explorer (View → Solution Explorer), right-click on ConsoleApp1 and choose Manage NuGet packages…. Choose Browse and search for PluralSight.Crypto. Install the package. Replace the content of the Program.cs file with the following code and modify the subjectName variable.
using Pluralsight.Crypto;
using System;
using System.IO;
using System.Security.Cryptography.X509Certificates;

namespace ConsoleApp1 {
    class Program {
        static void Main(string[] args) {

            var subjectName = "contoso.westeurope.cloudapp.azure.com";

            using (CryptContext ctx = new CryptContext()) {
                ctx.Open();

                X509Certificate2 cert = ctx.CreateSelfSignedCertificate(
                    new SelfSignedCertProperties {
                        IsPrivateKeyExportable = true,
                        KeyBitLength = 4096,
                        Name = new X500DistinguishedName("cn=" + subjectName),
                        ValidFrom = DateTime.Today.AddDays(-1),
                        ValidTo = DateTime.Today.AddYears(2),
                    });

                File.WriteAllBytes("contoso.pfx", cert.Export(X509ContentType.Pfx));
                Console.WriteLine(cert.Thumbprint);
                Console.ReadLine();
            };

        }
    }
}
Build the project (Ctrl + Shift + B). In Solution Explorer, right-click on the ConsoleApp1 project and choose Open Folder in File Explorer. Navigate to the bin/Debug directory and keep the window open for later use.
The code above creates the certificate for you (by pressing F5). It saves the certificate to the file and prints the certificate’s thumbprint. Do not close the console window by pressing Enter; keep it open, because you will need the thumbprint later.
Step 3: Upload the certificate to Key Vault
In the Azure portal, click on New → Security + Identity → Key Vault and create a Key Vault.

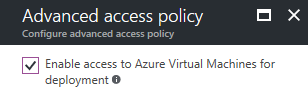
In Advanced Access Policy, check the Enable access to Azure Virtual Machines for deployment.
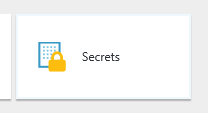
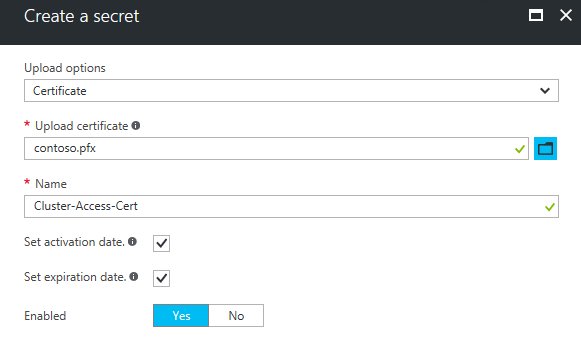
Navigate to the Key Vault and choose Secrets.
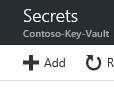
Then click Add.
Upload the certificate from the location you opened in the previous step. Choose a name for the certificate.
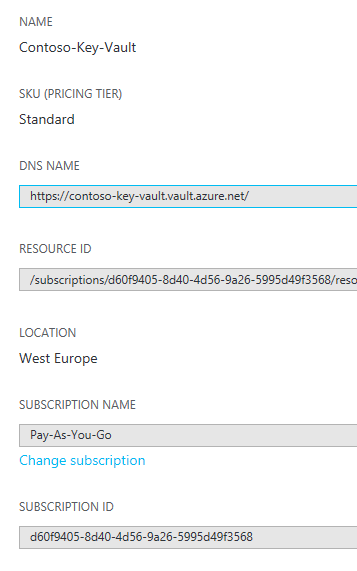
Navigate to the Properties of the Key Vault and keep it open.
Step 4: Configure the cluster security
We can return to the Service Fabric cluster creation wizard. In step 3, we will assign the primary certificate.
- From the Key Vault’s properties, copy the RESOURCE ID to Source Key Vault.
- From the Secret Version’s properties, copy the Secret Identifier to Certificate URL.
- From the console window, copy the thumbprint to Certificate thumbprint.
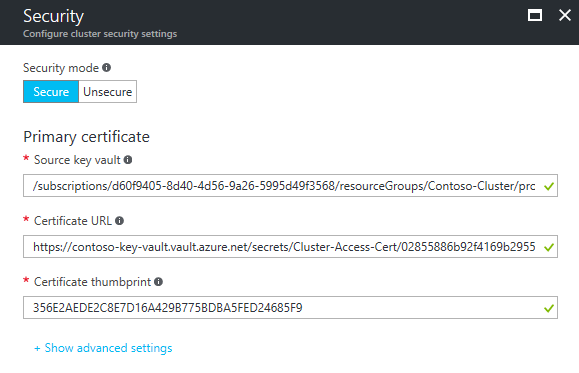
You may see an unexpected error telling you that the certificate thumbprint is invalid. This may happen when the thumbprint starts with an invisible left-to-right mark character. Navigate the cursor after the first letter of the thumbprint, press Backspace two times, and type the first letter again.
Management & application deployment
The certificate is the username and password for our cluster. It must be installed on the computer used to monitor or deploy applications to the cluster. Double-click the certificate’s file icon to install it. You can install the certificate to the location automatically determined by the Import Certificate wizard.
Deploying applications
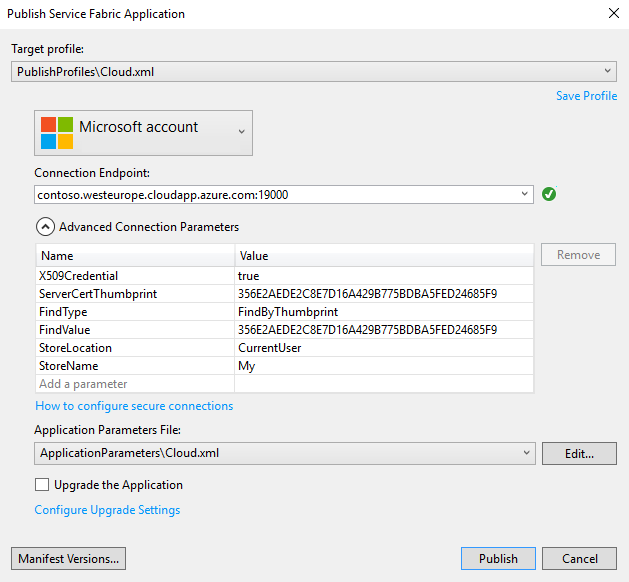
You can create an empty Service Fabric application to test the deployment. From the Start Page, click Create a new project… → Installed → Templates → Visual C# → Cloud → Service Fabric Application → OK → Stateless Service → OK. In Solution Explorer, right-click on the Application1 project and choose Publish…
In the Publish Service Fabric Application dialog, set StoreLocation to CurrentUser and StoreName to My.
Accessing Service Fabric Explorer
We can navigate to https://contoso.westeurope.cloudapp.azure.com:19080/Explorer. The browser will alert you that the certificate is invalid. This is normal because the certificate is self-signed. Continue and choose the appropriate certificate. Service Fabric Explorer will show up. A computer that is missing the certificate cannot access the cluster’s Service Fabric Explorer.
Certificate renewal
You can add a second certificate and swap the primary with the secondary certificate to renew the certificate. However, this currently cannot be done without PowerShell.